How To Use A Polarising Filter For Travel Photos
A practical step-by-step guide to how to use a polarising filter for travel photos, including preparation, instructions, common issues, tips, and next steps.
How To Use A Polarising Filter For Travel Photos
This guide explains how to approach how to use a polarising filter for travel photos, including the preparation, practical steps, common mistakes, and final checks that help you finish with confidence.
Before You Start
Step-by-Step Instructions
Quick Reference
Common Problems When You Use a Polarising Filter for Travel Photos
Even with good intentions, photographers sometimes run into issues when using polarising filters. Here are some common problems and how to fix them:
Problem: Uneven or Patchy Sky
Description: You notice that one part of the sky is a deep blue, while another part is much lighter, creating an unnatural, patchy look.
Cause: This usually happens when you're using a very wide-angle lens (like 24mm or wider on a full-frame camera) in combination with the polarising filter. The wide view captures light from various angles relative to the sun, leading to uneven polarisation across the sky.
Fix:
Problem: Images Are Too Dark or Noisy
Description: Your photos come out underexposed, or you have to raise your ISO significantly, leading to grainy (noisy) images.
Cause: Polarising filters block a significant amount of light (typically 1 to 2 stops) from reaching the camera sensor. If you don't compensate for this light loss, your photos will be dark.
Fix:
Problem: Unwanted Reflections Still Appear
Description: You've attached the filter to reduce reflections on water or glass, but they are still visible in your photo.
Cause: The filter is not rotated correctly, or your shooting angle relative to the light source is not optimal for polarisation.
Fix:
Problem: Filter Stuck on the Lens
Description: You've finished shooting, but the polarising filter is stuck firmly on your lens and won't unscrew.
Cause: The filter was overtightened when attached, or temperature changes have caused the metal threads to expand or contract.
Fix:
Problem: Dark Corners (Vignetting)
Description: The edges or corners of your photos appear noticeably darker than the center.
Cause: This usually happens with thick filters, or when stacking multiple filters, especially on wide-angle lenses. The filter's frame extends into the view of the lens, blocking some light from the corners of the frame.
Fix:
Advanced Tips for How To Use A Polarising Filter For Travel Photos
Once you're comfortable with the basics, these advanced techniques can help you get even more out of your polarising filter for travel photography.
Experiment Beyond the "Maximum" Effect
While finding the strongest polarising effect (usually at 90 degrees to the sun) is a good starting point, it's not always the best choice for every photo. Sometimes, a more subtle reduction in reflections or a gentler deepening of the sky looks more natural and pleasing. Experiment by rotating the filter slightly away from the maximum effect to see how these nuanced changes impact the overall mood and balance of your image. This can give your photos a more artistic and less "processed" feel.
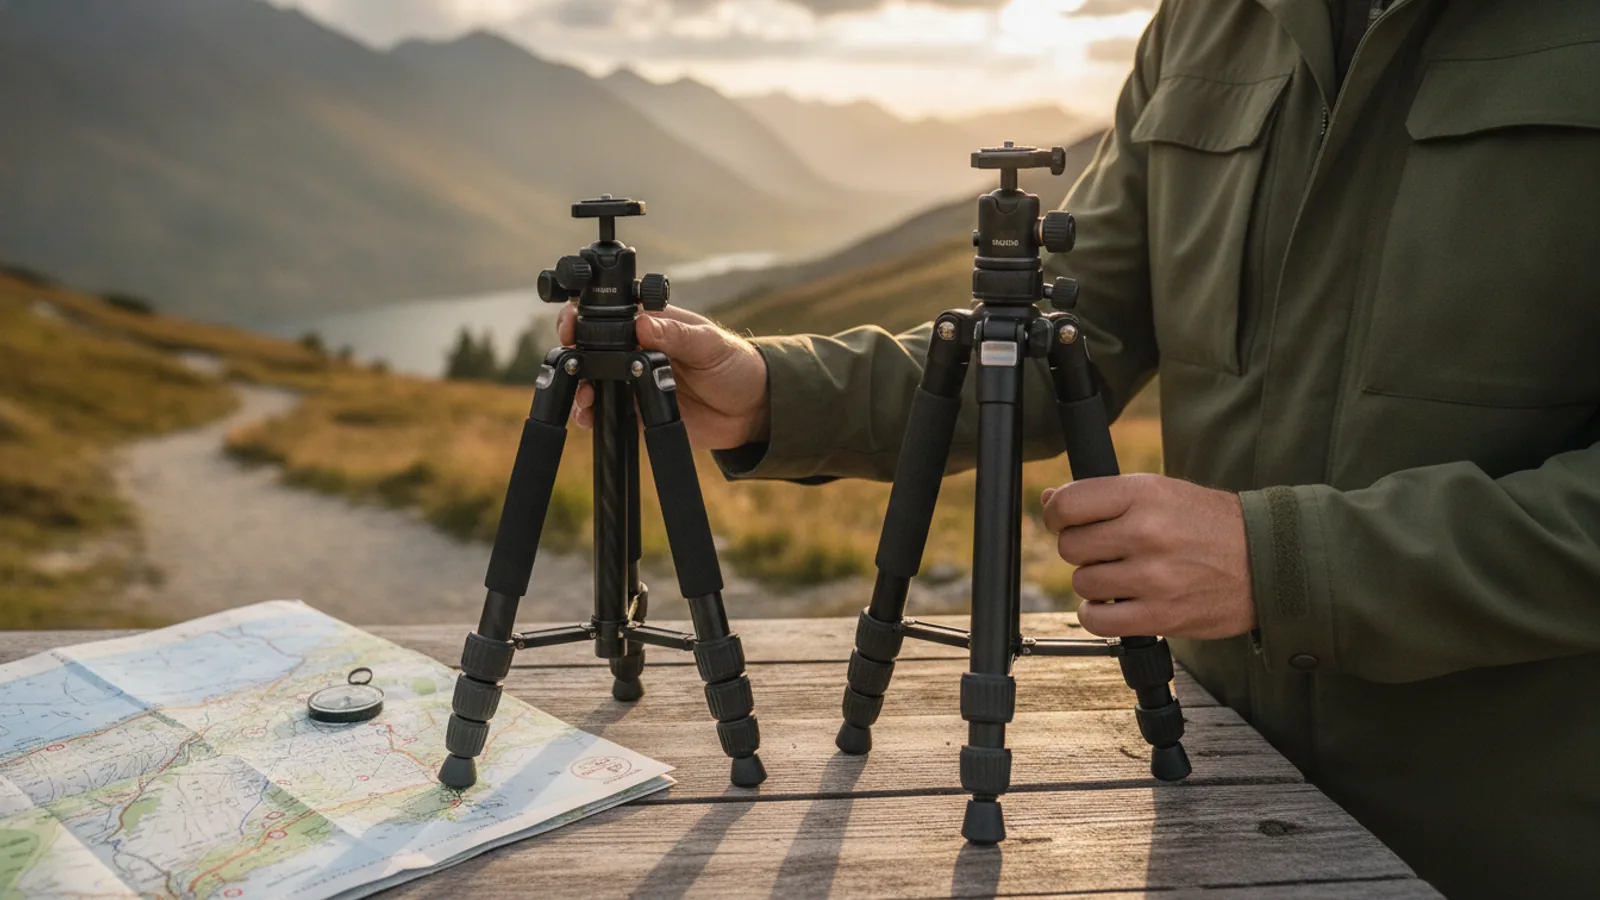
Utilize a Tripod for Best Results
As discussed, polarising filters reduce the amount of light reaching your sensor, often by 1 to 2 f-stops. This means you'll need a slower shutter speed to achieve proper exposure, especially in situations that aren't exceptionally bright. A tripod becomes invaluable here, allowing you to use slower shutter speeds without worrying about camera shake causing blurry photos. This ensures your images remain sharp while still benefiting from the filter's effects. A tripod also helps you carefully compose your shot and then fine-tune the filter's rotation without moving the camera.
Understand the Impact on White Balance
While generally subtle, some polarising filters can slightly warm or cool the color temperature of your photos, depending on their coatings. If you notice a slight color cast, you can adjust your camera's white balance settings (e.g., from Auto White Balance to a specific preset like "Daylight" or "Cloudy," or even a custom white balance) to compensate. Alternatively, you can make minor color adjustments during post-processing to ensure your colors remain true to life.
Combine with Other Filters (with Caution)
Advanced photographers sometimes stack filters to achieve specific effects. For example, you might combine a polarising filter with a Neutral Density (ND) filter. An ND filter reduces all light evenly, allowing for very long exposures (e.g., to smooth water or blur clouds during the day). Using a CPL and ND together could reduce glare *and* allow for a long exposure. However, stacking filters increases the risk of vignetting (dark corners), especially on wider lenses, and can reduce overall image sharpness. Use thin-mount filters and consider a step-up ring if necessary to avoid vignetting, and always check your results carefully.
Cleanliness is Paramount for Sharpness
This isn't just a basic tip; it's critical for advanced results. Any dust, smudge, or fingerprint on your polarising filter will be magnified by your lens and can lead to reduced sharpness, contrast, or unsightly flares and artifacts in your images. Before every shooting session, and even during, take a moment to carefully inspect and clean your filter with a proper lens brush and microfibre cloth. This simple step can make a huge difference in the quality of your final travel photos.
Use Live View for Real-Time Feedback
Most modern cameras have a "Live View" mode where you can see the scene on your LCD screen before taking the photo. This is incredibly useful when using a polarising filter. In Live View, as you rotate the filter's outer ring, you can immediately see the effect on reflections, sky saturation, and foliage vibrancy in real-time. This provides instant feedback, making it much easier to fine-tune the filter to achieve the exact effect you desire, rather than guessing with the optical viewfinder.
How To Use A Polarising Filter For Travel Photos FAQ
What is a polarising filter good for in travel photography?
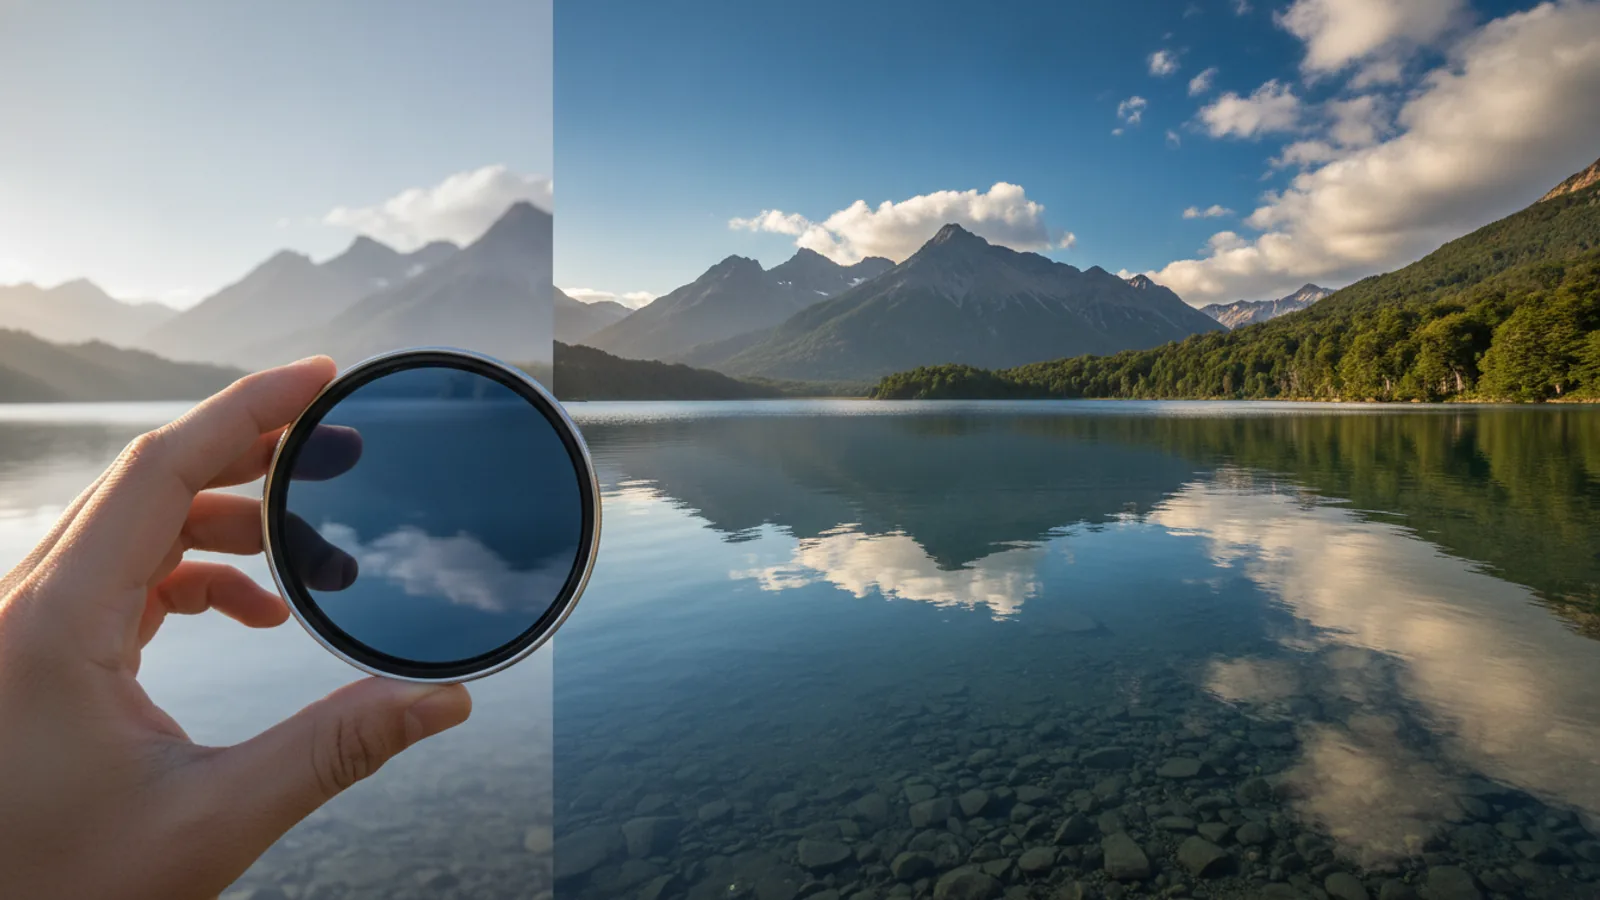
A polarising filter is excellent for travel photography because it helps reduce glare from water, glass, and wet surfaces, deepens the blue of the sky, and makes colors of foliage more vibrant. This leads to clearer, more saturated, and visually appealing images, especially in bright outdoor conditions.
Does a polarising filter make photos darker?
Yes, a polarising filter works by blocking some light, typically reducing the light reaching your camera's sensor by 1 to 2 f-stops. This will make your photos appear darker. You'll need to compensate by adjusting your camera's exposure settings, such as using a slower shutter speed, a wider aperture, or a higher ISO.
Can you leave a polarising filter on your lens all the time?
It's generally not recommended to leave a polarising filter on your lens all the time. While convenient, it will continuously reduce light, making your photos darker even when you don't need the polarising effect. It can also cause undesirable results like uneven skies with wide-angle lenses or introduce flare when shooting into the sun.
What's the difference between a Circular Polariser (CPL) and a Linear Polariser (PL)?
Most modern photographers use a Circular Polariser (CPL). While both types reduce glare, a CPL has an additional quarter-wave plate that "unpolarises" the light before it enters the camera. This is crucial for modern cameras that rely on auto-focus and auto-metering systems, which can be confused by the linearly polarised light from a PL filter. Linear Polarising (PL) filters are generally only used on older, manual-focus cameras.
How do I know what size polarising filter to buy for my lens?
The correct filter size is determined by the diameter of your lens's front filter thread. This measurement is usually printed on the front of your lens barrel, often near the front element, or on the inside of the lens cap. It's typically indicated by a circle with a diagonal line (ø) followed by a number, such as ø58mm or ø77mm. Ensure the filter's size matches this number exactly for a proper fit.
Will a polarising filter affect my autofocus or image stabilization?
A high-quality circular polarising filter (CPL) should not negatively impact your camera's autofocus or image stabilization systems. However, a very low-quality filter might introduce optical imperfections that could subtly affect sharpness or focus accuracy. The light reduction can sometimes make autofocus slightly slower in very dim conditions, but this is usually minor.
Can a polarising filter remove reflections from metallic surfaces?
No, a polarising filter is effective at reducing reflections from non-metallic surfaces such as water, glass, plastic, and painted surfaces. It cannot remove reflections from metallic surfaces like polished chrome, silver, or highly reflective metals, as the light reflected from these surfaces behaves differently.
Final Checklist for How To Use A Polarising Filter For Travel Photos
Before you pack up your gear or move on to your next shot, quickly review this checklist to ensure you've made the most of your polarising filter:
- Correct Filter Size: Is the polarising filter securely attached and correctly sized for your lens?
- Scene Benefits: Does the current scene actually benefit from a polarising filter (e.g., blue sky, water, reflections, foliage)?
- Filter Rotation: Have you slowly rotated the filter's outer ring to achieve the desired level of polarisation (reduced glare, deepened sky)?
- Exposure Adjusted: Have you checked your camera's exposure and compensated for the 1-2 stops of light loss (e.g., by adjusting shutter speed, ISO, or aperture)?
- Sky Evenness (Wide Angles): If using a wide-angle lens, have you checked the sky for any unnatural, uneven polarising effects?
- Review Image: Take a test shot and review it on your camera's LCD screen. Zoom in to check for sharpness, clarity, and the filter's effect.
- Clean Filter: Is the filter free of dust, smudges, or fingerprints that could degrade image quality?
- Consider Removal: If conditions are low light, or you want reflections, have you considered removing the filter?