How To Edit Raw Photos For A Natural Look
A practical step-by-step guide to how to edit raw photos for a natural look, including preparation, instructions, common issues, tips, and next steps.
How To Edit Raw Photos For A Natural Look
This guide explains how to approach how to edit raw photos for a natural look, including the preparation, practical steps, common mistakes, and final checks that help you finish with confidence.
Before You Start
Step-by-Step Instructions
Quick Reference
Common Problems When You Edit Raw Photos For A Natural Look
Over-Editing and Unnatural Colors
Problem: Your photo looks fake, cartoonish, or has overly strong, unrealistic colors that don't match what you remember seeing. This often happens when sliders like Saturation, Contrast, or Clarity are pushed too far without moderation.
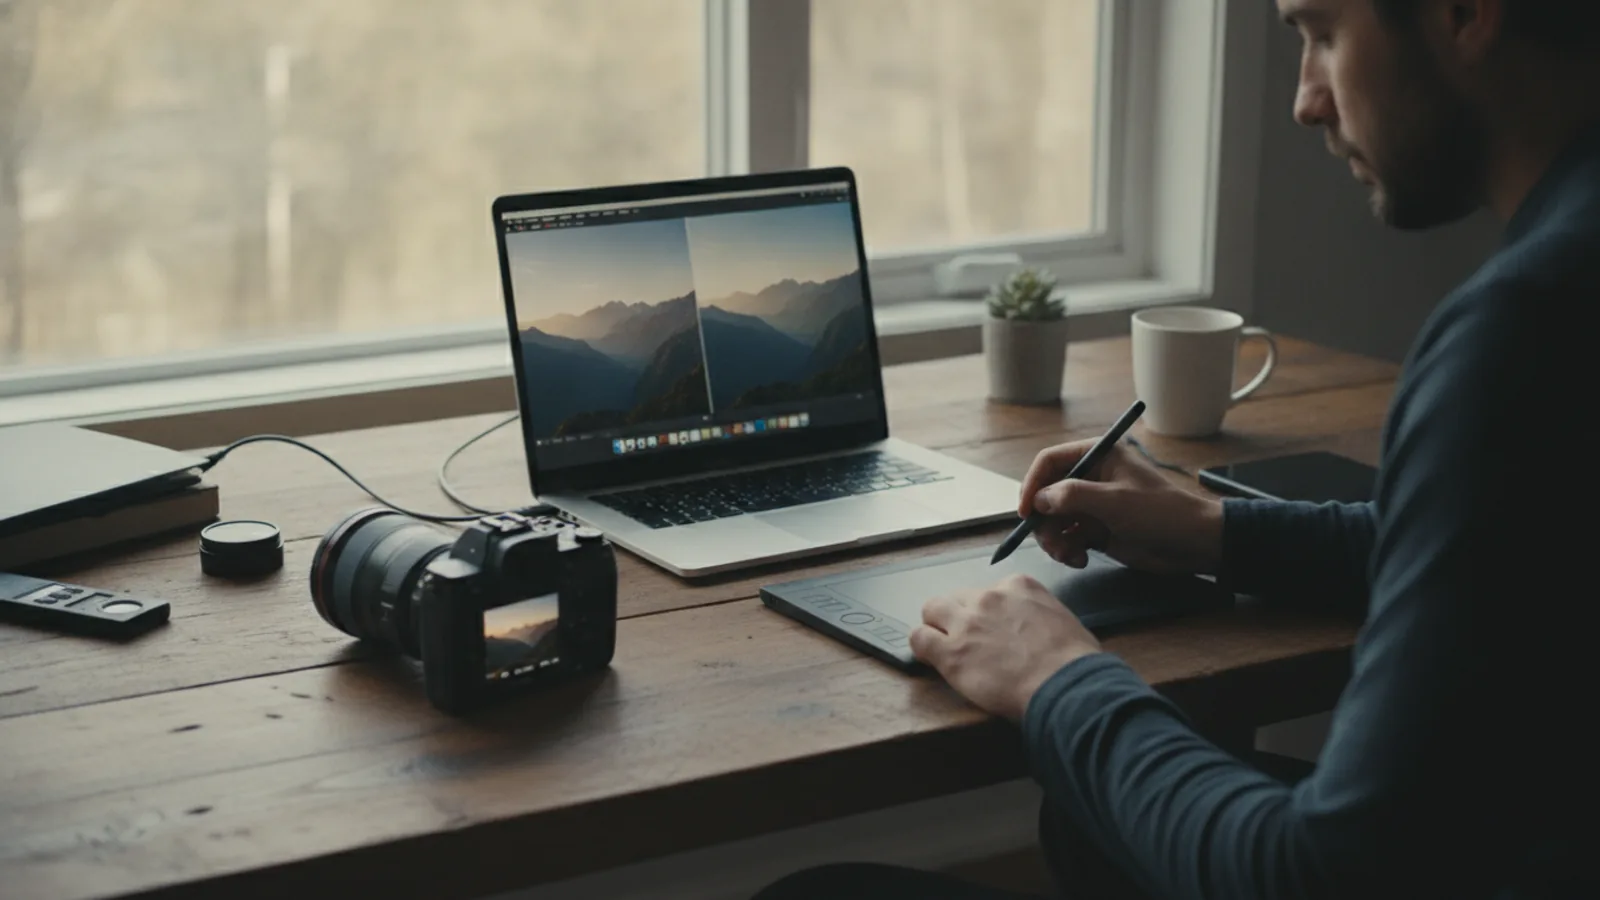
Solution: The key to a natural look is a light touch. Always prioritize Vibrance over Saturation for color boosts, and use it sparingly. When adjusting contrast or clarity, zoom in to 100% and pull back the sliders if you notice unnatural halos around objects or a harsh, crunchy appearance. Regularly use your software's before/after view to compare your edit with the original raw file. Taking short breaks can also help your eyes reset and see the image more objectively.
Loss of Detail in Highlights or Shadows
Problem: Bright areas, such as a white wedding dress or a bright sky, become pure white with no texture or information. Similarly, dark areas, like deep shadows under trees, become completely black blobs without any visible detail. This is known as "clipping."
Solution: Pay close attention to the histogram in your editing software; if its graph is touching the far left or right edges, you're likely clipping. Use the Highlights slider to recover detail in bright areas and the Shadows slider to bring back information in dark areas. For severe cases, you might need to make a slight adjustment to the overall Exposure or use local adjustment tools to target specific problematic areas.
Image Appears Flat or Dull After Editing
Problem: Even after making some adjustments, your raw photo still looks lifeless, lacking visual impact and depth, failing to achieve a natural yet engaging appearance.
Solution: Remember that raw files are intentionally flat, providing maximum flexibility. Start by establishing a correct White Balance. Then, subtly increase Contrast. Experiment with the Clarity slider for mid-tone contrast, but always apply it judiciously. Also, ensure your Blacks and Whites points are set correctly using the respective sliders to give the image a full and rich tonal range without any clipping.
Introduced Noise or Artifacts
Problem: After applying edits, you notice grainy noise or strange, unnatural patterns (digital artifacts) appearing in your photo, especially in smooth, uniform areas like skies or shadows.
Solution: This often happens from over-sharpening or aggressive noise reduction. Apply Sharpening with caution, and utilize the masking slider if available to limit its effect primarily to edges, preventing noise in smooth areas. For Noise Reduction, use the minimum amount necessary to reduce visible grain, focusing on both Luminance and Color noise separately. Always zoom in to 100% to accurately evaluate the effect. Sometimes, a little bit of natural grain is preferable to an overly smooth, artificial look.
Advanced Tips for How To Edit Raw Photos For A Natural Look
How To Edit Raw Photos For A Natural Look FAQ
Why should I edit raw photos instead of JPEGs for a natural look?
Raw files capture much more image data directly from your camera's sensor than JPEGs. This wealth of data means you have far greater flexibility when making adjustments to exposure, white balance, and color. This extra room for manipulation allows for more subtle and precise edits, making it significantly easier to achieve a natural look without introducing visible artifacts or quickly losing detail, which can be common limitations when editing less forgiving JPEG files.
What's the difference between "Vibrance" and "Saturation" for natural editing?
Vibrance is a smarter color adjustment tool. It primarily boosts the intensity of more muted colors while largely leaving already saturated colors alone. This selective approach helps prevent common issues like overly orange skin tones or unnaturally vibrant skies. Saturation, on the other hand, boosts *all* colors equally across the image. Using the saturation slider too aggressively can quickly lead to an over-processed, unrealistic look. For a natural aesthetic, always prioritize Vibrance and use Saturation very sparingly, if at all.
How do I know if I've gone too far with my edits?
A good rule of thumb is to frequently use your software's before/after view to compare your edited image with the original raw file. Look for signs of over-editing such as unnatural skin tones, colors that are too vibrant to be real, obvious halos around objects, or areas that appear plasticky due to excessive noise reduction. If you've been editing for a long time, step away for a break and then review the photo with fresh eyes. What seems natural during an intense editing session can often look overdone upon a fresh viewing.
Should I always aim for a perfectly "flat" image when starting raw editing?
Yes, often raw files appear somewhat flat straight out of the camera, and this is by design! This initial "flatness" signifies that the file has retained maximum dynamic range and color information, giving you the most latitude to make your own precise adjustments without losing valuable data. You will then, through your editing process, build up contrast, adjust exposure, and refine colors to achieve your desired natural look, rather than starting with an image that has already been heavily processed by the camera.
Is it okay to use sharpening on every photo?
Most photos can benefit from some degree of sharpening, as digital camera sensors and lenses can't capture absolutely perfect sharpness. However, the key is "subtle enhancement." Over-sharpening introduces digital artifacts, makes images look harsh, and appears unnatural. Apply sharpening carefully, typically towards the end of your editing process, and always zoom in to 100% (1:1 view) to accurately judge its effect. Some photos, especially those where a soft focus was intentionally used, might require very little or even no sharpening at all.
Final Checklist for How To Edit Raw Photos For A Natural Look
Initial Assessment: Did you review the original raw file to understand its specific strengths and areas needing improvement?
White Balance Set: Is the color temperature accurate and truly natural-looking, avoiding unwanted color casts?
Exposure Balanced: Is the overall brightness of the image correct, ensuring it's neither too dark nor overly bright?
Highlights & Shadows Checked: Have you successfully recovered detail in both the brightest and darkest areas of the photo?
Contrast Applied Subtly: Does the image possess good depth and separation without appearing overly harsh or artificial?
Colors Natural: Did you primarily use Vibrance for color boosts, and do skin tones and skies look realistic?
Clarity & Sharpening Refined: Are details crisp and defined without introducing halos, grain, or other digital artifacts?
Lens Corrections Applied: Have any distortions, vignetting, or chromatic aberrations from your lens been corrected?
Noise Reduction Judicious: Is visible noise reduced sufficiently without excessively softening important fine details?
Local Adjustments for Focus: Have specific areas been subtly enhanced to guide the viewer's eye and improve composition?
Final Review: Did you take a break and then objectively compare your edited photo against the original raw file?
Correct Export Settings: Is the photo exported in the appropriate file format and resolution for its intended final use (web, print, etc.)?