How To Make A Photo Zine
A practical step-by-step guide to how to make a photo zine, including preparation, instructions, common issues, tips, and next steps.
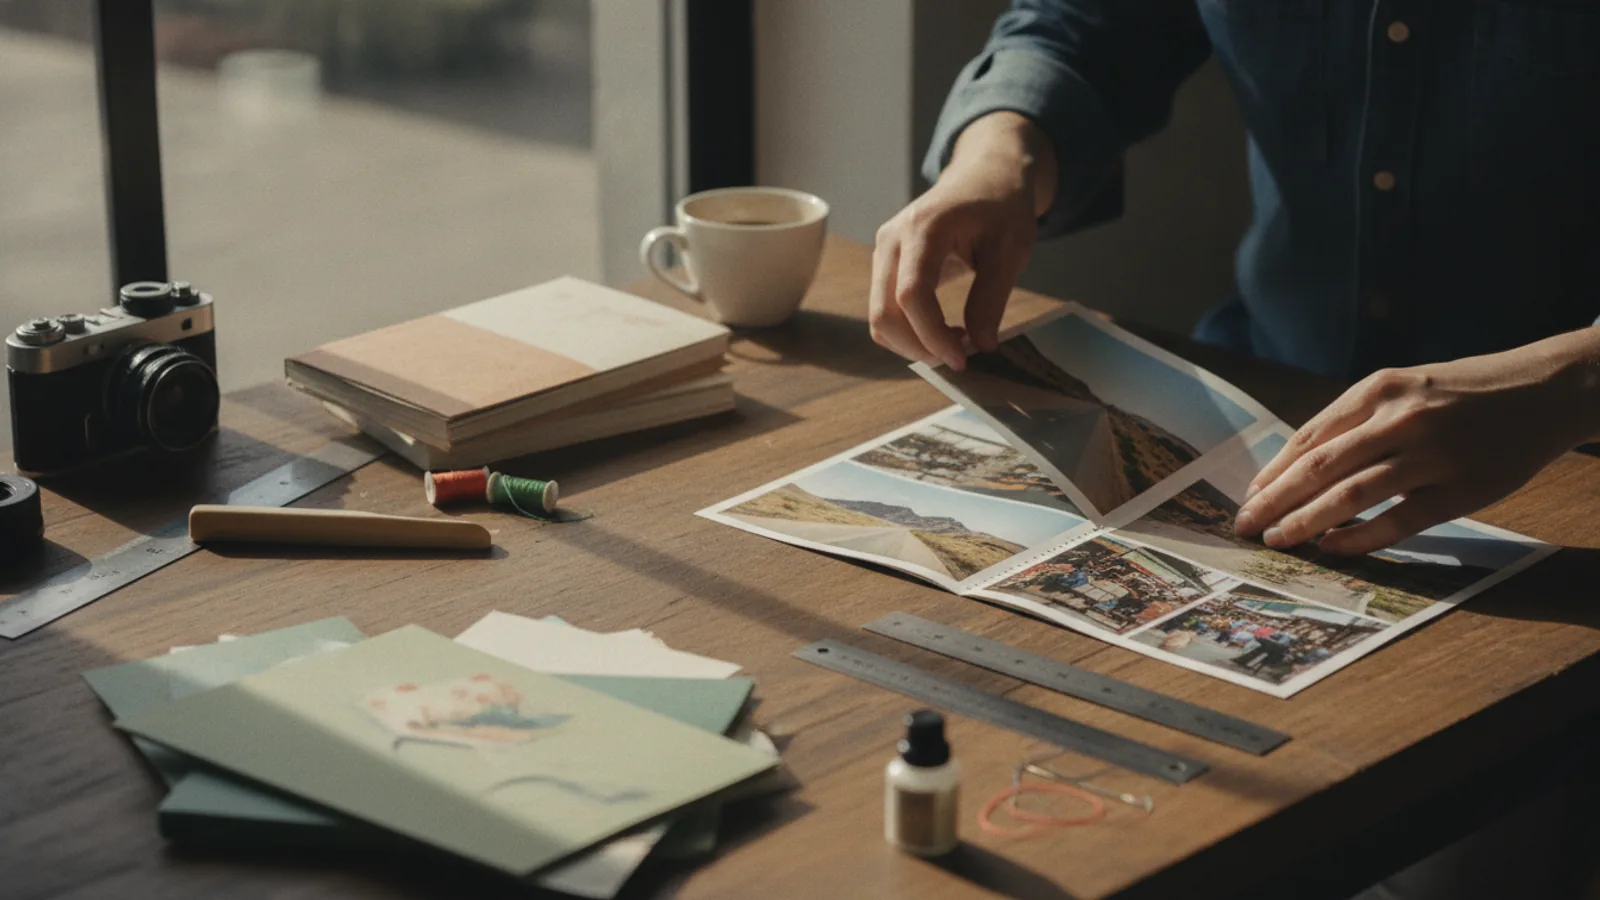
How To Make A Photo Zine
This guide explains how to approach how to make a photo zine, including the preparation, practical steps, common mistakes, and final checks that help you finish with confidence.
Before You Start
Before you dive into creating your photo zine, gathering the right tools and understanding some basic considerations will set you up for success. A zine is a small, self-published magazine, often created with a DIY approach, so flexibility and creativity are key.
Step-by-Step Instructions
Quick Reference
Use this table to quickly troubleshoot common issues or remember key steps during your zine-making process.
Common Problems When You Make A Photo Zine
Even with careful planning, you might run into a few bumps along the road when making your photo zine. Here are some common issues and straightforward ways to fix them:
This is one of the most frustrating issues, especially after you've put in a lot of design work. Your photos looked sharp on the screen, but on paper, they're fuzzy or blocky.
Fix: The primary cause is using images that have too low a resolution for printing. You need images that are typically 300 DPI (dots per inch) at the size you intend them to be printed. Always check the image resolution before you start designing. If an image is only 72 DPI (common for web images), it will look terrible if you try to print it large. If you don't have a high-resolution version, you might need to use a different photo or print it smaller.When you fold sheets of paper for a zine, the page order can get confusing, especially with double-sided printing. You might end up with page 3 following page 10, or text upside down.
Fix: This problem almost always comes from not understanding "printer spreads." Design software usually displays pages in "reader spreads" (how you read them). For printing, you need "printer spreads" (how they are laid out on a sheet of paper to be folded correctly). Most design software can export to printer spreads automatically. If doing it manually, create a physical dummy zine (as mentioned in Step 3) and number each page on the blank sheets. Then, unfold it to see the correct printing order. This visual aid is invaluable.You spent ages perfecting the colors of your photos on your monitor, but when you print, they look dull, too dark, or just "off."
Fix: The main reason for this difference is that screens use RGB (Red, Green, Blue) light, while printers use CMYK (Cyan, Magenta, Yellow, Black) ink. CMYK has a smaller color range, so some bright RGB colors simply can't be reproduced in print. To minimize this, you can:After all the careful design, the physical construction can be tricky, leading to a zine that looks amateurish because of sloppy cuts or folds.
Fix: Precision is key here.If your binding isn't strong enough, your zine might not withstand repeated viewing, which defeats the purpose of sharing it.
Fix:Advanced Tips for How To Make A Photo Zine
Once you've mastered the basics, there are many ways to elevate your photo zine and make it truly unique. These advanced tips focus on creative choices, production techniques, and distribution strategies.
- Experiment with Paper Stock: Don't limit yourself to standard printer paper. Try using different paper textures and weights for various effects. Consider vellum for overlay pages, recycled paper for an eco-friendly feel, or colored cardstock for a vibrant cover. The tactile experience of your zine can be just as impactful as the visuals.
- Incorporate Hand-Embellishments: After printing and binding, add personal touches by hand. This could include rubber stamps, small drawings, collage elements, handwritten notes, or even glitter. Hand-embellishments make each zine truly unique and highlight its DIY charm.
- Explore Unique Binding Methods: Beyond staples and thread, research other binding techniques. Japanese stab binding, for example, offers a beautiful, exposed spine that can be a design element in itself. Concertina (accordion) folds can create an interesting unfolding narrative, while simple ring binding allows for easy page additions or removals.
- Create a Digital Companion: While zines are physical, creating a digital PDF version can extend your reach. You can share this online, embed it on your website, or even sell it digitally. This allows people who don't have access to the physical zine to still experience your work.
- Collaborate with Other Artists: Partnering with another photographer, writer, or illustrator can bring fresh perspectives and diverse styles to your zine. Collaboration can lead to unexpected creative outcomes and broaden your audience.
- Design for Interaction: Think about ways readers can interact with your zine. Could you include a small pocket for an extra print, a removable postcard, or a QR code that links to an online gallery, video, or audio recording related to the photos?
- Limited Editions and Collectibility: To make your zine feel special, create a limited run. Number and sign each copy (e.g., "1/50," "2/50"). This adds to its value and appeal as a collectible item, especially if you plan to sell them.
- Consider an Alternative Format: Instead of a traditional folded booklet, what about a stack of unbound cards held together by a band, or a roll of continuous images? Pushing the boundaries of what a "zine" can be might lead to a truly memorable piece.
- Storytelling with Text: While photo zines are visual, thoughtful text can enhance the story. Experiment with short essays, poetry, captions, or even fictional narratives that complement your images. The interaction between text and image can create a deeper experience for the reader.
How To Make A Photo Zine FAQ
Here are answers to some frequently asked questions about making photo zines:
What's the best software for designing a photo zine?
For beginners or simple layouts, programs like Canva, Google Slides, or even Microsoft Word can be used. For more professional results and greater control over typography and image placement, industry-standard software like Adobe InDesign or Affinity Publisher are excellent choices. If you're looking for free, open-source options, Scribus is a powerful alternative.
How many pages should a photo zine have?
Typically, zines designed for saddle-stitching (stapling along the fold) use page counts that are multiples of four (e.g., 8, 12, 16, 20 pages). This is because each sheet of paper folded in half creates four pages. However, for other binding methods like perfect binding or coil binding, you can have any number of pages you wish.
Can I make a photo zine without a printer at home?
Absolutely! You can design your zine digitally and then send the print-ready PDF file to a local or online print shop. Professional printers often offer higher quality printing, a wider selection of paper types, and can handle binding for you, which can be a great option for more polished results or larger quantities.
What is 'bleed' and why is it important for printing?
'Bleed' refers to the extra image or background color that extends beyond the edge of your page. It's usually an extra 0.125 inches (3.175 mm) on each side. When the zine pages are trimmed to their final size, the bleed ensures that there are no unprinted white edges appearing, even if the cut isn't perfectly precise. It's crucial for designs where images or colors go all the way to the edge of the page.
Should I include text in my photo zine?
That's entirely up to you and your artistic vision! Many photo zines are purely visual, letting the images speak for themselves. Others include short captions, an introduction, an artist's statement, poetry, or even a brief essay to provide context, deepen the story, or add a different layer of meaning. Consider what best serves your theme and how you want your audience to experience your work.
Final Checklist for How To Make A Photo Zine
Before you call your photo zine complete, run through this checklist to ensure every detail has been covered and your finished product is ready for sharing.
- Your zine's theme or story is clear and consistent throughout.
- All photographs are high-resolution (300 DPI) and have been carefully edited for consistent style and quality.
- The digital layout has the correct page order, margins, and includes any necessary bleed and crop marks.
- A test print (or proof from a print shop) was performed and thoroughly reviewed for color accuracy, text readability, and layout issues.
- The appropriate paper type and weight have been chosen for both the cover and inside pages.
- All pages have been accurately cut and precisely folded.
- The chosen binding method is secure and neatly executed, holding all pages together firmly.
- A final review of the assembled zine has been completed, checking for any smudges, fingerprints, or physical imperfections.
- Any desired personal touches, such as signing, numbering, or hand-embellishments, have been applied.
- You have a plan for how you will share or distribute your finished photo zine.