How To Make A Photography Contact Sheet
A practical step-by-step guide to how to make a photography contact sheet, including preparation, instructions, common issues, tips, and next steps.
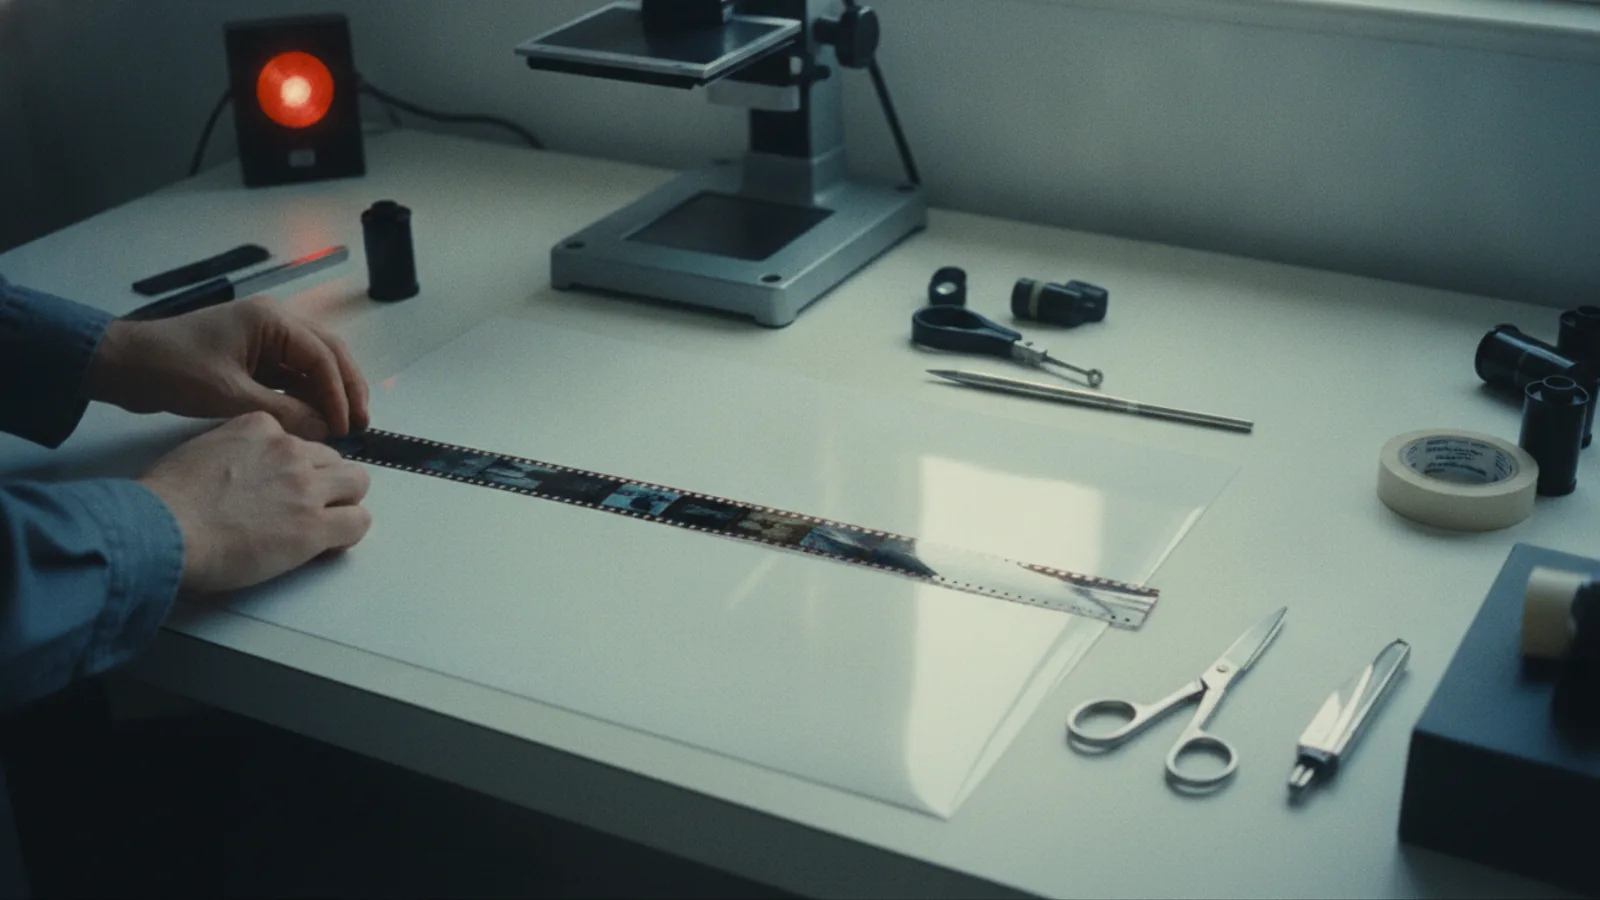
How To Make A Photography Contact Sheet
This guide explains how to approach how to make a photography contact sheet, including the preparation, practical steps, common mistakes, and final checks that help you finish with confidence.
Before You Start
Before you begin the process of making a photography contact sheet, it's crucial to gather all your materials and ensure your darkroom is ready. Working in a darkroom requires careful attention to detail and safety protocols.
What You Need
Safety, Timing, or Context Checks
Step-by-Step Instructions
Quick Reference
Common Problems When You Make A Photography Contact Sheet
Even with careful steps, you might run into issues when making contact sheets. Knowing what to look for and how to fix it can save you time and paper.
Print is Too Dark or Too Light
Fogged Print (Gray Overall)
Spots, Streaks, or Scratches
Faint or Uneven Images
Edges Cut Off
Advanced Tips for How To Make A Photography Contact Sheet
Once you've mastered the basics, you can refine your contact sheet process for even better results and a more efficient workflow.
Mastering Exposure for Varied Negatives
Sometimes, a single roll of film can have negatives with very different densities (some very light, some very dark). A single exposure time might not be perfect for every frame on your contact sheet. For a more critical contact sheet, you could consider:
Using a Magnifying Loupe for Detailed Review
While a regular magnifying glass helps, a dedicated darkroom loupe (a small magnifier often with a clear base) provides much higher magnification and is specifically designed for examining negatives and prints. Using a loupe on your contact sheet will allow you to critically assess sharpness, grain, and subtle details in each frame that might be missed with the naked eye. This is essential for selecting the absolute best images for enlargement.
Archival Processing and Washing
If you intend for your contact sheets to be permanent records, pay extra attention to archival processing. This includes:
Masking Individual Frames
While less common for a full contact sheet, if you have a specific negative that is particularly dense or thin and you want to ensure it's perfectly exposed on the contact sheet (perhaps as a reference), you can sometimes "mask" other negatives or parts of the negative during the main exposure. This is more of an advanced darkroom printing technique applied to a contact print. For example, you could quickly dodge (block light) over a thinner negative or burn (add light) to a denser negative during the main exposure to balance them slightly, but this requires quick, precise hand movements.
Storing Your Contact Sheets
Once dry, contact sheets should be stored carefully. Place them in archival print sleeves or envelopes to protect them from dust, fingerprints, and environmental damage. Store them flat in archival boxes. Many photographers store their contact sheets alongside their corresponding negative sleeves, providing an instant visual reference for their film archive.
Making Digital Contact Sheets (as an alternative)
While this guide focuses on traditional darkroom methods, it's worth noting that many photographers also create digital contact sheets. This involves scanning your negatives at a low resolution, then arranging them using photo editing software (like Adobe Lightroom or Photoshop) into a grid and printing them on an inkjet or laser printer. This method offers convenience and speed, especially if you plan to do most of your final printing digitally, but it lacks the tactile feel and direct assessment of traditional darkroom contact sheets.
How To Make A Photography Contact Sheet FAQ
What is the primary purpose of a photography contact sheet?
The primary purpose of a photography contact sheet is to provide a quick visual overview of all the images on a roll of film. It allows photographers to easily review, compare, and select the best frames for enlargement without needing to project each negative through an enlarger. It's an essential tool for editing and archiving film.
Can I make a contact sheet without a darkroom?
To make a traditional, analog photography contact sheet directly from film negatives onto photographic paper, a darkroom (or a completely light-tight space with a safelight) is absolutely necessary. However, you can create a "digital contact sheet" by scanning your negatives and then arranging and printing the digital files using a computer and a regular printer. This is not the traditional darkroom process covered in this guide.
How do I know the correct exposure time for my contact sheet?
The correct exposure time is determined by making a test strip. This involves exposing a small piece of photographic paper under your arranged negatives for varying lengths of time (e.g., 5, 10, 15, 20 seconds). After developing the test strip, you examine it to find the segment that shows the best detail and contrast. This time then becomes your exposure time for the full contact sheet.
What's the difference between RC and Fiber photographic paper for contact sheets?
RC (Resin Coated) paper has a plastic coating that makes it easier to handle, develops faster, washes quickly (5-10 minutes), and dries flat with less curling. It's generally more durable and less prone to scratching. It's a great choice for contact sheets due to its convenience.
Fiber-based (FB) paper has a paper base that absorbs chemicals, requiring longer wash times (30-60 minutes or more) and careful drying to prevent curling. However, fiber paper is known for its superior archival properties, richer tones, and greater perceived depth, making it popular for fine art prints.
How long do darkroom chemicals last?
The lifespan of darkroom chemicals depends on several factors:
Can I use my contact sheet for anything other than choosing prints?
Yes, contact sheets are also invaluable for archival purposes. They serve as a permanent visual index of your negatives, making it easy to locate specific images without having to pull out and inspect individual film strips. Many photographers store contact sheets alongside their corresponding negative sleeves in archival binders for easy reference.
Final Checklist for How To Make A Photography Contact Sheet
Use this checklist to ensure you've covered all the essential steps and considerations for successfully making your photography contact sheet.
By following these steps, you'll gain a valuable skill in traditional darkroom photography and have a practical tool for evaluating your film work.