How To Photograph A Local Community
A practical step-by-step guide to how to photograph a local community, including preparation, instructions, common issues, tips, and next steps.
How To Photograph A Local Community
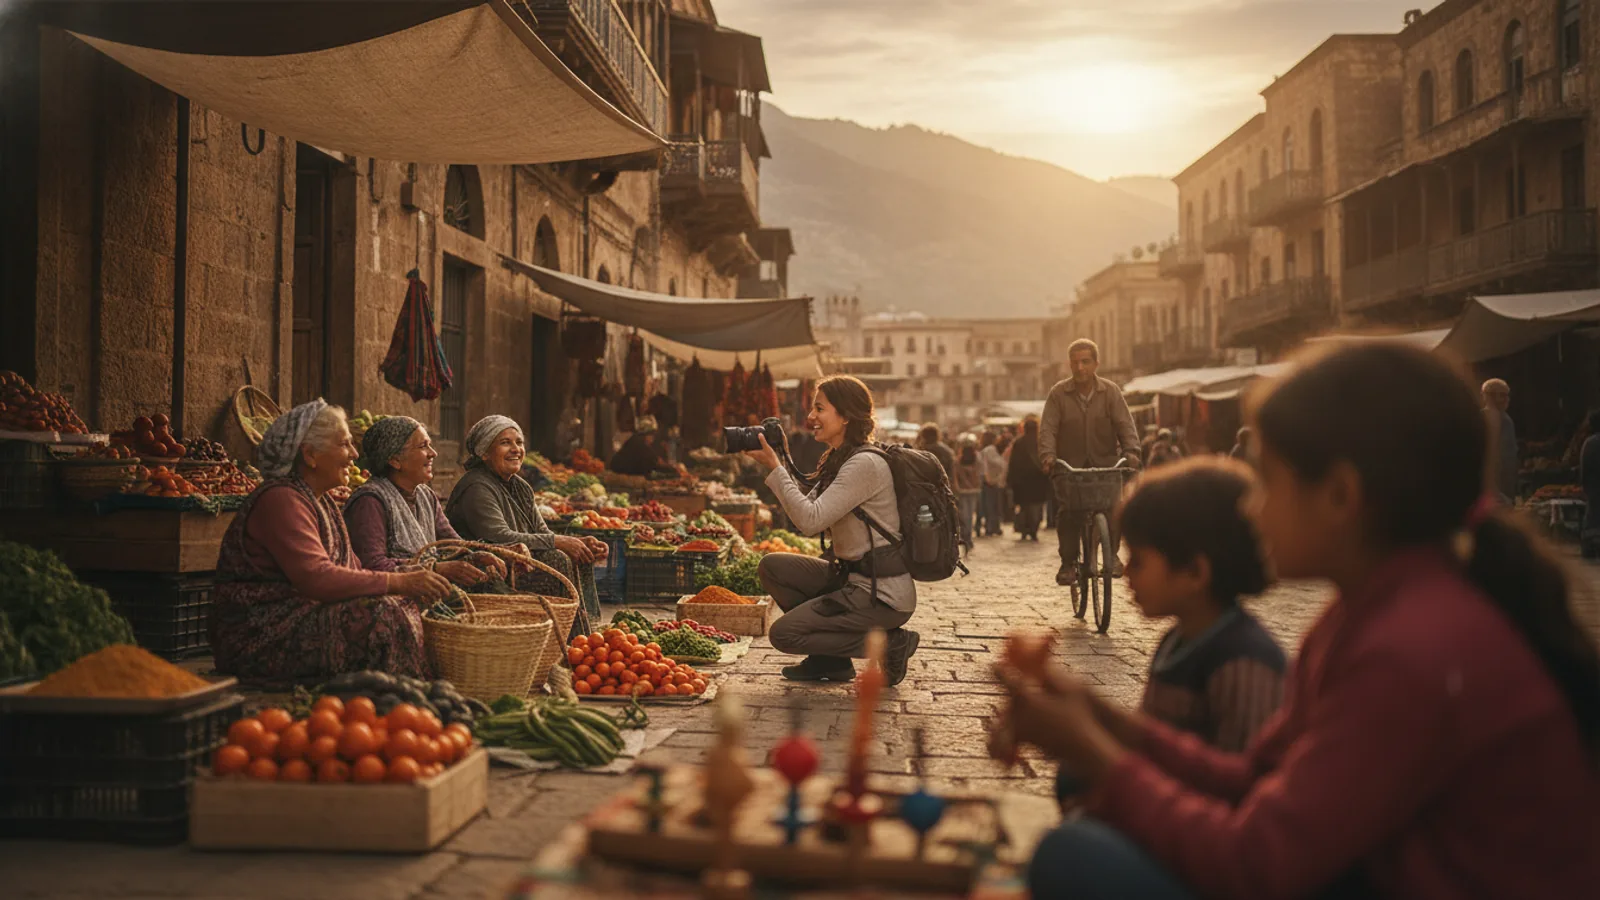
This guide explains how to approach how to photograph a local community, including the preparation, practical steps, common mistakes, and final checks that help you finish with confidence.
Before You Start
Step-by-Step Instructions
Quick Reference
Common Problems When You Photograph A Local Community
Even with the best intentions, you might face some common challenges when photographing a local community. Knowing them beforehand can help you prepare.
- People feel uncomfortable or say no: This is a frequent occurrence. Sometimes people are shy, wary of strangers, or simply don't want their picture taken. The fix is always to respect their decision immediately. Don't argue or try to convince them. Acknowledge their response with a polite "thank you" and move on. Remember, one "no" doesn't mean everyone will say no.
- Photos look staged or unnatural: If you're too intrusive or overtly directing people, your photos can lose their authenticity. The solution is to be patient and discreet. Wait for moments to unfold naturally. Shoot from a distance, or after spending enough time that people forget you're there. When taking portraits, aim for relaxed poses rather than stiff, artificial ones.
- Missing the "story" or context: Sometimes photos look good but don't convey the essence of the community. This often happens when you focus too much on isolated subjects. To fix this, think in terms of a series. Capture wide shots, details, interactions, and portraits. Combine these elements to tell a more complete story about the place and its people. Your research before starting is key here.
- Technical issues (poor lighting, blurry shots): Working in varied environments can be tricky. You might encounter harsh sunlight, dim interiors, or fast-moving subjects. Practice your camera settings (aperture, shutter speed, ISO) in different conditions. Use a faster shutter speed for moving subjects and adjust ISO in low light. Review your images on your camera screen to catch issues early.
- Feeling like an outsider: It's natural to feel like you don't belong initially. Overcome this by genuinely engaging with people. Learn a few words of the local language, share a smile, or help out in a small way. The more you connect as a person, not just a photographer, the more accepted you'll feel, and the more natural your photos will become.
Advanced Tips for How To Photograph A Local Community
Once you've mastered the basics, consider these advanced techniques to elevate your community photography.
- Tell a photo story or series: Instead of just individual shots, think about creating a cohesive visual narrative. Plan to spend more time, perhaps several days, focusing on a particular theme or aspect of the community (e.g., daily life at the market, a specific craft, a local celebration). Capture a range of images that, when viewed together, tell a deeper, more detailed story.
- Anticipate moments: An experienced street or community photographer learns to anticipate when a moment is about to happen. Watch body language, eye contact, and interactions. Look for patterns in daily life. By anticipating, you can pre-focus, set your exposure, and be ready to capture the peak of the action or emotion.
- Work with natural light creatively: While soft, even light is generally safe, don't shy away from challenging lighting conditions. Harsh midday sun can create dramatic shadows, backlighting can create beautiful rim lighting, and low light can add mood and atmosphere. Learn to expose for these conditions, perhaps by using spot metering or manually adjusting your settings.
- Shoot from different perspectives: Avoid always shooting from eye level. Get low to the ground to capture children or animals, climb to a higher vantage point for a wider view, or shoot through elements to create depth and interest. Different angles can reveal new details and add a unique artistic touch to your images.
- Engage beyond the camera: The best community photographers often become temporary members of the community. They might volunteer, share a meal, or help with a task. This deeper level of engagement not only enriches your personal experience but also leads to more genuine access and trust, resulting in truly exceptional photographs that reflect an insider's perspective.
- Learn basic post-processing: While authenticity is key, thoughtful post-processing can enhance your images. Learn to make subtle adjustments to exposure, contrast, color balance, and sharpness. A well-processed image can convey mood and emotion more effectively without looking artificial.
How To Photograph A Local Community FAQ
Here are answers to some frequently asked questions about photographing local communities.
Is it okay to pay people for their photos?
This is a sensitive topic. In general, it's best to avoid paying people for casual photos. It can create an expectation and change the dynamic of your interactions, making them transactional rather than genuine. It can also encourage people to "perform" for the camera, leading to less authentic images. Instead, offer a print of the photo or a small, culturally appropriate gift as a token of thanks *after* you've taken the picture, if you feel it's truly warranted and won't create an expectation for others.
How can I be respectful of religious or sacred spaces?
Always exercise extreme caution and respect in religious or sacred spaces. Research specific rules beforehand. Look for signs indicating no photography, or ask a local attendant. Dress modestly, remove your shoes if required, and maintain a quiet demeanor. If photography is allowed, be discreet, avoid flash, and never interrupt prayers or ceremonies. Focus on architectural details or wider scenes rather than individual worshippers without explicit permission.
What if I don't speak the local language?
While learning a few key phrases is helpful, you don't need to be fluent. A smile, polite gestures, and a genuine, open demeanor can communicate a lot. Use a translation app on your phone if necessary, but don't rely solely on it. Focus on non-verbal communication, make eye contact, and be present. Often, people appreciate the effort even if your language skills are limited.
Should I share my photos with the community?
Absolutely, if possible! Sharing your photos is a wonderful way to give back and show gratitude. If you promised someone a copy, make every effort to deliver. You could also offer to share a selection of your best images with a local community center, school, or cultural organization. This act of sharing reinforces trust and leaves a positive impression, fostering better relationships for future photographers.
Final Checklist for How To Photograph A Local Community
Before you pack up, run through this quick checklist to ensure you've covered all the important bases.
- Researched local customs and etiquette?
- Always asked for permission before close-up shots of individuals?
- Maintained a respectful and non-intrusive presence?
- Practiced patience and observed patiently?
- Captured a variety of shots: wide scenes, details, interactions, portraits?
- Paid attention to lighting and background for clarity?
- Expressed genuine thanks to those you photographed?
- Reviewed images for ethical considerations and authenticity?
- Followed through on any promises to share photos?