How To Photograph A Market
A practical step-by-step guide to how to photograph a market, including preparation, instructions, common issues, tips, and next steps.
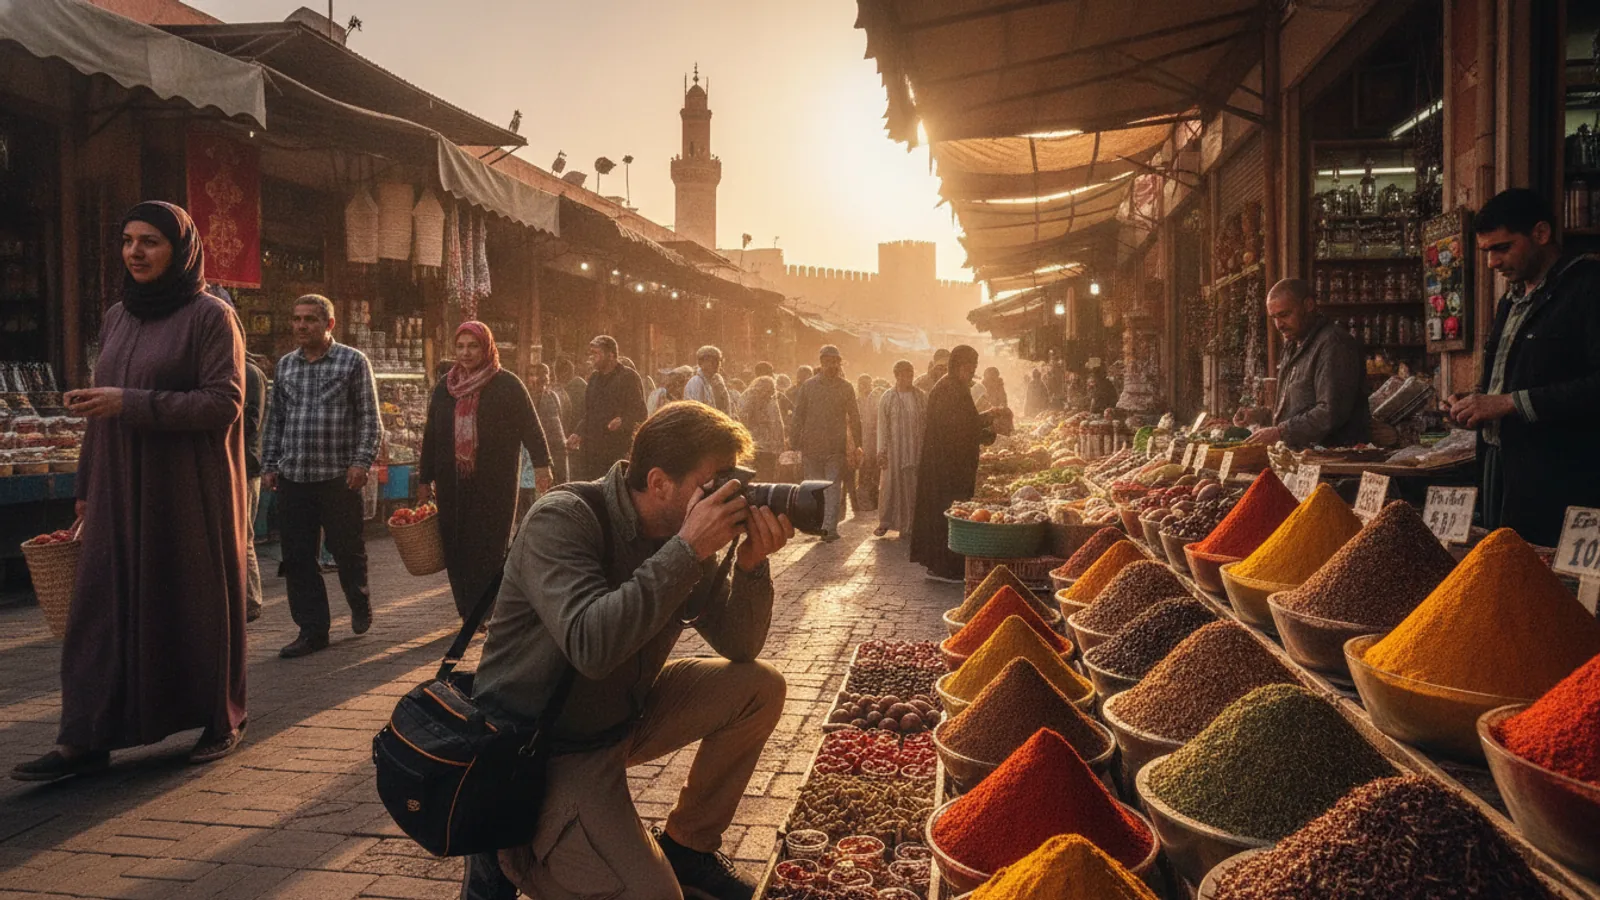
How To Photograph A Market
This guide explains how to approach how to photograph a market, including the preparation, practical steps, common mistakes, and final checks that help you finish with confidence.
Before You Start
Before heading out, a little preparation goes a long way. Make sure you have the right gear and know what to expect.
Step-by-Step Instructions
Quick Reference
Here’s a quick guide for common market photography situations:
Common Problems When You Photograph a Market
Even with good planning, you might face some challenges. Here are common issues and how to fix them:
- Blurry Photos:
- Poor Exposure (Too Dark or Too Bright):
- Cluttered Backgrounds:
- People React Negatively:
- Missed Moments:
- Flat or Dull Images:
Advanced Tips for How to Photograph a Market
Once you're comfortable with the basics, try these techniques to take your market photos to the next level:
- Shoot from Unique Perspectives: Instead of eye-level shots, try kneeling to get a child's view, or hold your camera above your head for an overhead perspective of a stall. Look for reflections in puddles or shiny surfaces.
- Use Selective Focus: When taking close-ups, use a very wide aperture (e.g., f/1.8 or f/2.8) to blur the background significantly. This draws all attention to your chosen detail.
- Look for Juxtaposition: Find interesting contrasts. Maybe an old vendor next to modern goods, or vibrant colors next to muted tones. These can create compelling stories within your photos.
- Capture Movement with Intentional Blur: Instead of always freezing motion, try a slightly slower shutter speed (e.g., 1/30th or 1/60th of a second) and pan your camera with a moving subject. This can keep the subject relatively sharp while blurring the background, conveying a sense of speed and dynamism.
- Focus on Hand Gestures: Hands often tell a story – a vendor arranging goods, hands exchanging money, a shopper examining produce. These details can add a human element and authenticity.
- Visit at Different Times: The market can look completely different at dawn, midday, or dusk. Experimenting with different times can yield entirely new sets of images.
- Shoot in Black and White: Sometimes, removing color can emphasize textures, shapes, and light, giving your photos a timeless or dramatic feel.
- Engage Beyond a Photo: Sometimes, the best way to get a great photo is to genuinely connect with the person. A brief conversation can make them more comfortable and lead to more natural expressions.
How To Photograph A Market FAQ
Final Checklist for How to Photograph a Market
Use this checklist to ensure you're ready and get the best possible shots during your market visit:
FAQ
What should I check before I start?
Check the goal, the key prerequisite, and any current instructions that could change the safest next step for how to photograph a market.
How can I tell whether the result is working?
Use the practical checks in the guide, pause if a required step is unclear, and verify the finished result against the intended outcome.