How To Photograph A Road Trip
A practical step-by-step guide to how to photograph a road trip, including preparation, instructions, common issues, tips, and next steps.
How To Photograph A Road Trip
This guide explains how to approach how to photograph a road trip, including the preparation, practical steps, common mistakes, and final checks that help you finish with confidence.
Before You Start
Step-by-Step Instructions
Quick Reference
Common Problems When You Photograph A Road Trip
Even with good planning, you might run into some common issues when trying to photograph a road trip. Knowing how to fix them can save your shots.
- Blurry Photos: This is often caused by a shutter speed that's too slow for the motion. If your subject is moving or you're shooting from a moving car, increase your shutter speed (e.g., to 1/250s or faster). If your camera is shaking, try holding it steadier, bracing yourself, or using a tripod. In low light, if you can't increase shutter speed, you might need to increase ISO or use a tripod.
- Overexposed or Underexposed Images: If your photos are too bright (overexposed) or too dark (underexposed), your camera's meter might be getting confused by tricky lighting. Look for your camera's exposure compensation setting (often a +/- button). Adjust it to a negative number (e.g., -0.7 or -1.0) to darken an overexposed scene, or a positive number (e.g., +0.7 or +1.0) to brighten an underexposed one.
- Uninteresting Composition: Sometimes photos feel flat or boring. This usually means the composition needs work. Try changing your perspective – get low, shoot from high up, or move around your subject. Look for leading lines (like a road or fence) to draw the viewer's eye, or use natural frames (like tree branches or an archway) to frame your subject. Don't be afraid to experiment with the rule of thirds.
- Too Much Clutter in the Frame: Roadside stops can sometimes be busy or have distracting elements. Try to simplify your shot. Zoom in on a specific detail, or change your angle to exclude unwanted elements. A wider aperture (lower f-number) can also help blur a busy background, making your main subject stand out more.
- Running Out of Battery or Storage: This is a common and frustrating problem. The fix is proactive: always pack at least two extra fully charged batteries and several empty memory cards. Regularly transfer photos to a portable hard drive or cloud service during your trip to free up card space and create backups.
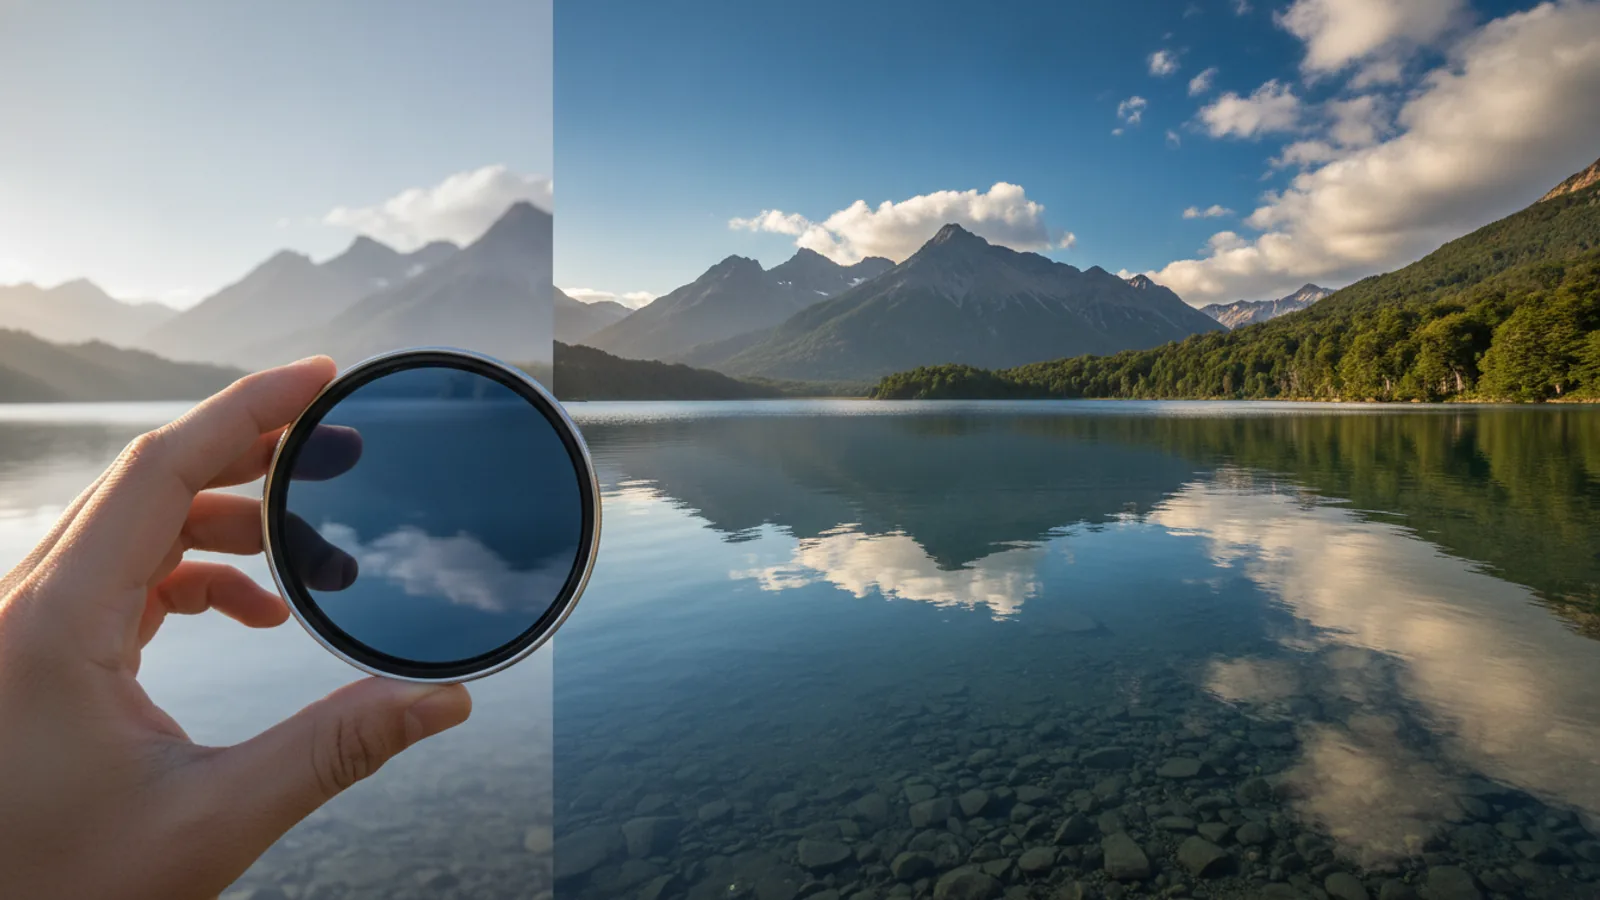
- Harsh Midday Light: The sun directly overhead creates strong shadows and bright highlights, making photos look less appealing. If you must shoot at midday, look for open shade (under a bridge or large tree) or use a polarizing filter to reduce glare and deepen blue skies. Alternatively, embrace the harsh light for high-contrast, dramatic black and white photos.
Advanced Tips for how to photograph a road trip
Once you're comfortable with the basics, these tips can help you push your road trip photography further.
- Try Time-Lapse Photography: Set up your camera on a tripod and use its built-in time-lapse feature (or an intervalometer) to capture the changing landscape, passing clouds, or even a sunset over several minutes or hours. This creates a dynamic video sequence of your journey.
- Experiment with Long Exposure: Beyond night photography, long exposures can create artistic effects during the day. Use a Neutral Density (ND) filter to allow for very slow shutter speeds (e.g., 30 seconds or more) in bright light. This can turn moving clouds into streaks, smooth out water, or make busy crowds disappear.
- Create Panning Shots: When photographing a moving vehicle (like a truck or another car), set your shutter speed to around 1/30th to 1/125th of a second. As the vehicle passes, smoothly move your camera to track it. Press the shutter button during this movement. With practice, you'll get a sharp subject against a blurred, streaky background, conveying a strong sense of speed.
- Shoot in Golden and Blue Hour: While mentioned before, truly master these times. The "golden hour" provides warm, soft light perfect for landscapes and portraits. The "blue hour" (the time just after sunset or before sunrise when the sky turns a deep blue) is excellent for cityscapes, neon signs, and dramatic scenes without direct sunlight.
- Utilize Reflections: Look for opportunities to use reflections in puddles, lakes, or even the shiny surface of your car. Reflections can add symmetry, depth, and an interesting abstract quality to your photos.
- Storytelling Through Photo Series: Instead of just individual photos, try to capture a series of images that tell a mini-story. For example, photos of packing the car, driving, a specific stop, and unpacking. This adds a narrative flow to your collection.
- Post-Processing: Learning basic photo editing can significantly improve your images. Even simple adjustments like cropping, straightening, adjusting brightness and contrast, and enhancing colors can make a huge difference. Free tools and apps are available if you don't have professional software.
How To Photograph A Road Trip FAQ
Here are answers to common questions about photographing road trips.
What's the best camera for a road trip?
The "best" camera is the one you have and know how to use. A modern smartphone can take excellent photos. For more control and higher quality, a mirrorless camera or DSLR with a versatile zoom lens is ideal. The most important thing is comfort and familiarity with your gear.
How do I keep my camera safe in the car?
Keep your camera in a padded bag or case to protect it from bumps and dust. Avoid leaving it in direct sunlight for long periods, as heat can damage electronics. When making quick stops, avoid leaving expensive gear visible in your car to prevent theft. Always have it with you or locked away out of sight.
Should I use a tripod on a road trip?
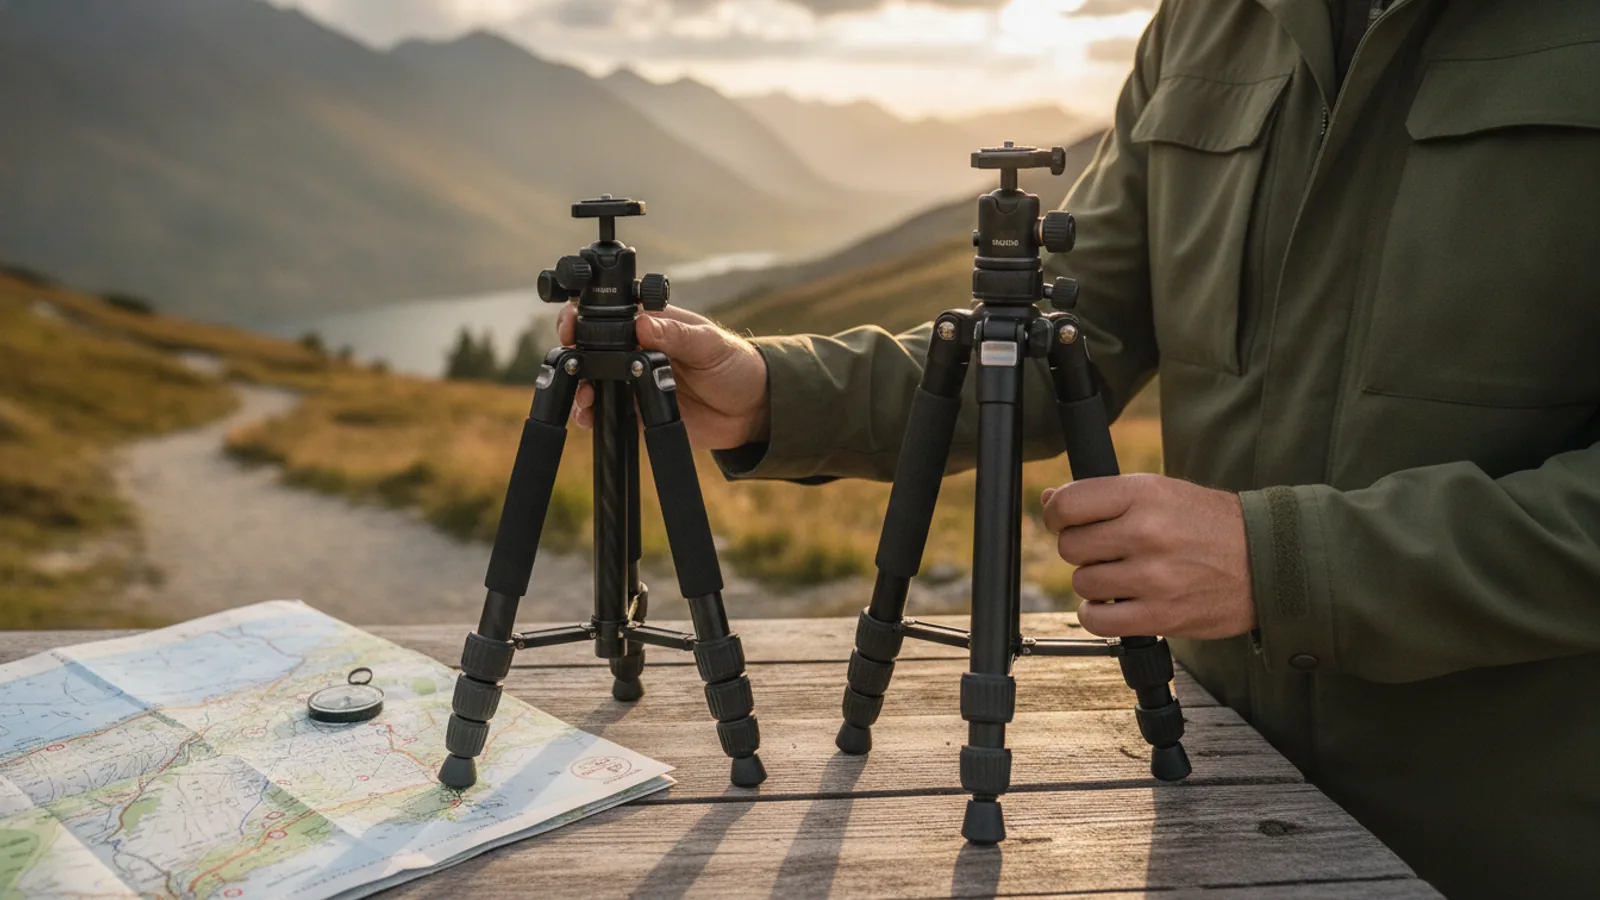
A tripod is highly recommended, especially for shooting landscapes, low-light scenes, or for taking self-portraits with a timer. A lightweight, compact travel tripod is best as it's easy to pack and carry. If space is tight, a mini-tripod or gorillapod can also be very useful for smaller cameras or smartphones.
What settings are best for photos from a moving car?
To reduce blur, use Shutter Priority (Tv/S) mode and set a fast shutter speed, such as 1/500th of a second or faster. If the light allows, keep your ISO low (100-400) for best quality. If you're trying to achieve motion blur effects (panning), reduce your shutter speed to 1/30th to 1/125th of a second and pan with the subject.
How do I deal with reflections when shooting through a car window?
To minimize reflections, try to shoot as close to the window glass as possible. Use a lens hood to block stray light. If shooting at night, try to block interior lights with your hand or a dark cloth. A polarizing filter can also help reduce glare and reflections, particularly on sunny days.
How often should I back up my photos?
Aim to back up your photos at the end of each day, or whenever you have access to a laptop or portable hard drive. If you're using a cloud service and have a reliable internet connection, you can set it to back up automatically throughout the day. Frequent backups protect your memories from loss or damage to a single memory card.
Final Checklist for how to photograph a road trip
Before you hit the road, run through this quick checklist to make sure you're fully prepared to capture amazing photos.
- Camera charged and ready: Main battery and spares are fully charged.
- Memory cards packed: Plenty of empty cards for all your shots.
- Lenses selected: Your go-to lenses for landscapes, details, and portraits.
- Lens cleaning kit: Cloth, blower, and cleaning solution to keep glass spotless.
- Tripod (optional): If you plan on low-light or long exposure shots.
- Car charger/power bank: For charging devices on the go.
- Route reviewed: Potential photo stops and golden/blue hour timings noted.
- Camera settings checked: Basic mode, ISO, and white balance set for initial shooting.
- Safety awareness: Always prioritize safe stopping and shooting locations.
- Expect the unexpected: Be ready for spontaneous photo opportunities.
- Backup plan in place: Know how and when you'll back up your photos.
- Have fun: Remember to enjoy the journey, not just the photos!