How To Scan Film Negatives
A practical step-by-step guide to how to scan film negatives, including preparation, instructions, common issues, tips, and next steps.
How To Scan Film Negatives
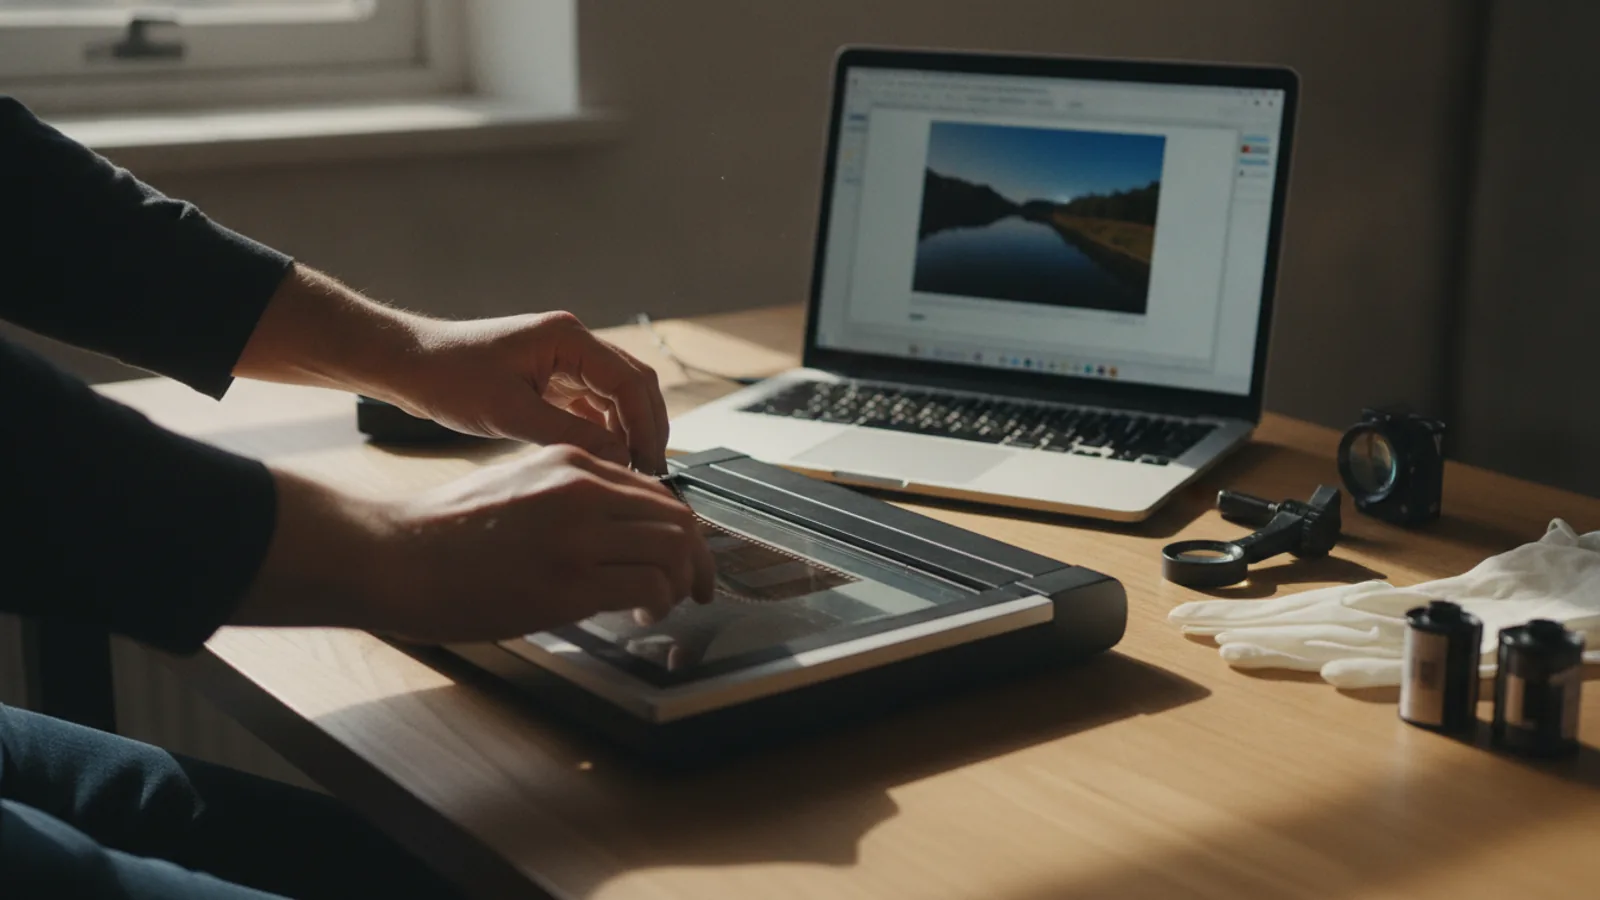
This guide explains how to approach how to scan film negatives, including the preparation, practical steps, common mistakes, and final checks that help you finish with confidence.
Before You Start
Step-by-Step Instructions
Quick Reference
Common Problems When You Scan Film Negatives
Even with careful preparation, you might run into a few issues when scanning film negatives. Knowing how to troubleshoot these can save you a lot of time and frustration.
Dust and Scratches
This is by far the most common problem. Tiny specks of dust or hairline scratches on your negatives will show up prominently in your scans, often appearing much larger than they are in real life. Even if you cleaned your negatives, static electricity can attract new dust.
- Fix: The best defense is a good offense. Always clean your negatives thoroughly with an air blower and anti-static brush immediately before placing them in the scanner. If your scanner has digital dust removal (like Digital ICE), use it. For stubborn spots after scanning, use the spot healing or clone stamp tools in photo editing software.
Poor Color and Contrast
Scanned negatives can sometimes look washed out, have strange color casts (e.g., too green or too magenta), or lack good contrast. This is especially true for older or faded film.
- Fix: Ensure you selected the correct "Negative Film" profile in your scanner software (e.g., "Color Negative" vs. "Black & White Negative"). Scan in a higher color depth (like 48-bit) if possible to capture more data. In post-processing, use the "levels" and "curves" tools to adjust contrast. For color issues, adjust the white balance, color balance, or individual color channels in your editing software.
Grainy or Blurry Scans
If your digital images look soft, blurry, or excessively grainy, several factors could be at play.
- Fix:
Cropping or Framing Issues
Sometimes, the scanner's software might not correctly detect the edges of your frames, leading to images that are poorly cropped or include parts of the film rebate.
- Fix: Always use the preview scan function. Manually adjust the crop boxes around each image in the scanner software before performing the final scan. This ensures you capture exactly what you want and helps avoid wasted time on full scans that need re-doing.
Slow Scanning Speed
Scanning can be a slow process, especially with high resolutions and digital dust removal enabled. It can feel like it takes forever.
- Fix: Be realistic about your expectations for speed versus quality. If you need speed, you can lower the DPI slightly or disable advanced features like Digital ICE, but this will impact quality. Dedicated film scanners are often faster than flatbeds for film. Consider scanning in batches overnight if you have many negatives.
Advanced Tips for How To Scan Film Negatives
Once you're comfortable with the basics, you can explore more advanced techniques to get even better results from your film negatives.
Calibrate Your Monitor
What you see on your screen isn't always what you'll get in print or on another display. A calibrated monitor ensures that the colors and brightness you see are accurate. This is crucial for making precise color corrections to your scanned images.
- How: Use a hardware colorimeter (a small device that attaches to your screen) to create a monitor profile. This ensures your editing decisions are based on a true representation of your images.
Understand Histogram and Levels
Instead of relying on automatic adjustments, learn to use the histogram and levels/curves tools in your photo editing software. These tools provide a visual representation of your image's tonal range.
- How: The histogram shows the distribution of darks, mid-tones, and highlights. By adjusting the black point, white point, and mid-tone slider in the "Levels" adjustment, you can precisely control the contrast and brightness of your image, bringing out details that might be hidden in faded negatives.
Batch Scanning Workflows
If you have hundreds or thousands of negatives, individual scanning and editing can be incredibly time-consuming. Optimize your workflow.
- How: Scan entire rolls or strips with consistent settings. Then, use batch processing features in your editing software to apply common adjustments (like basic white balance or a slight contrast boost) to multiple images at once. Software like Adobe Lightroom or Capture One are powerful for this.
Shoot a Color Reference Frame
When you're still shooting film, include a color checker card (like a SpyderCheckr or ColorChecker Passport) in one frame of your roll. This gives you a perfect color reference.
- How: Scan this reference frame. Then, in your editing software, use the eyedropper tools to match the colors on the card to their known values. You can then save these color adjustments as a preset and apply them to all other frames from that same roll, ensuring consistent and accurate colors.
Consider Wet Mounting (for experts)
For very old, warped, scratched, or problematic negatives, wet mounting can yield superior results. This involves temporarily immersing the negative in a special fluid between two pieces of glass, which helps to minimize the appearance of scratches, dust, and film grain by filling in surface imperfections.
- How: This is an advanced technique requiring specialized fluid, specific film holders, and careful execution. It's usually reserved for critical archival work or restoring severely damaged negatives. Research thoroughly if you consider this method.
How To Scan Film Negatives FAQ
What DPI should I use for scanning film negatives?
For most purposes, 3200-4800 DPI is a good balance of detail and file size. 3200 DPI will create images suitable for good quality prints up to 8x10 inches. If you want maximum detail for large prints or heavy cropping, 6400 DPI or higher is ideal, but these files will be very large and scans will take much longer.
Should I save my scans as TIFF or JPEG?
For the highest quality and best editing flexibility, always save your initial scans as TIFF (.tif) files. TIFF is a lossless format, meaning no image data is thrown away. JPEG (.jpg) uses lossy compression, which permanently discards some image information to create smaller files. Use JPEG only for sharing online or when file size is a critical concern, and always keep your original TIFF master files.
Can I scan old slides with the same equipment?
Yes, most dedicated film scanners and flatbed scanners with transparency units can scan both film negatives and mounted slides. They use the same light source and film holders (though you'll need specific holders for slides, often included with the scanner). The process and settings are very similar, just ensure you select "Positive Film" or "Slide Film" in your software.
How should I store my scanned digital images?
After scanning, store your digital images on at least two separate locations. This is often called the "3-2-1 backup rule" (3 copies, 2 different media types, 1 offsite). A good setup includes: your computer's hard drive, an external hard drive, and a cloud storage service (like Google Drive, Dropbox, or a dedicated photo backup service). This protects against data loss from hardware failure, accidental deletion, or disaster.
What if my negatives are very old, brittle, or cut into individual frames?
Handle very old or brittle negatives with extreme care; they can easily crack or break. Avoid excessive bending. If negatives are cut into single frames, some film holders have slots for individual frames. If not, you might need to place them directly on the flatbed scanner glass (emulsion side down), being careful to protect the glass from scratches, or use a masking technique to hold them flat. For severely damaged film, professional film scanning services might be a better option.
Final Checklist for How To Scan Film Negatives
- Workspace Prepared: Is your scanning area clean and free of dust?
- Gloves On: Are you wearing microfiber gloves to handle negatives?
- Negatives Cleaned: Have you used an air blower and anti-static brush on each negative strip?
- Scanner Ready: Is the scanner glass clean, and is the scanner connected and software installed?
- Film Holders Used: Are the negatives correctly loaded into the appropriate film holder?
- Scan Settings Configured: Have you selected "Negative Film," chosen a high DPI (3200+), and chosen TIFF as the file format?
- Preview Scan Checked: Did you review the preview for framing, orientation, and obvious flaws?
- Scans Executed: Have all desired negatives been scanned without interruption?
- Files Saved and Reviewed: Are your scanned images saved to a clear folder, and have you quickly checked their quality?
- Backup Created: Have you backed up your newly digitized images to at least one additional location?
- Negatives Stored: Are your physical negatives returned to their archival sleeves and storage?